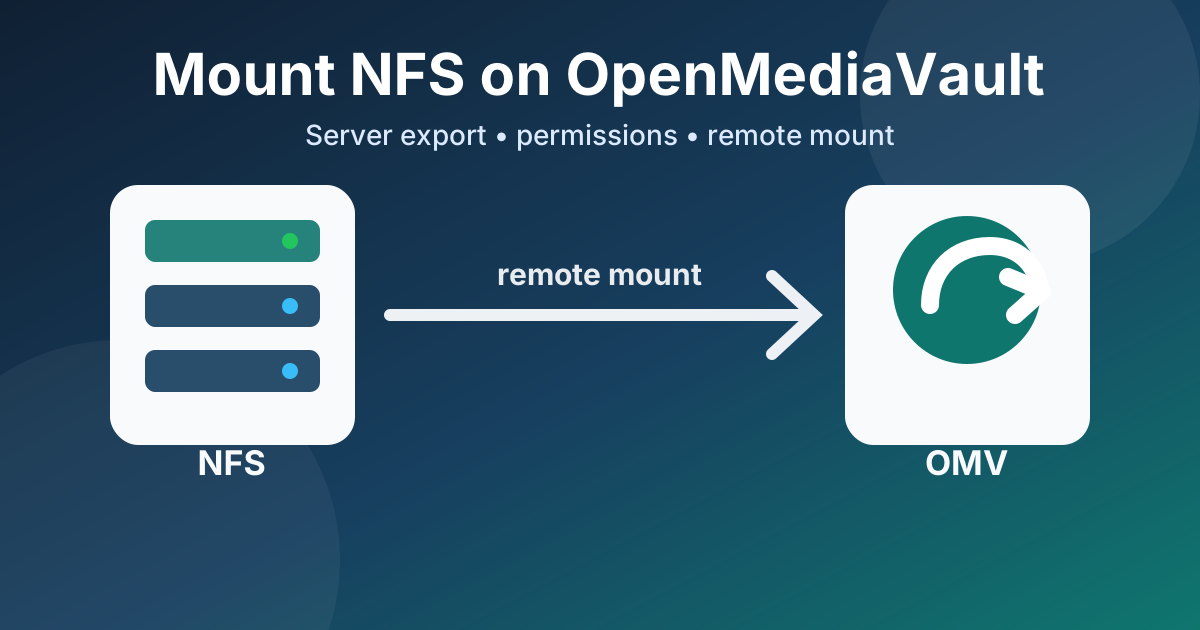
Mount NFS on OpenMediaVault
This guide shows how to prepare a disk on an NFS server, export it with nfs-kernel-server, troubleshoot common permission problems, and mount the remote NFS share from an OpenMediaVault client using the official Remote Mount plugin.
On the NFS Server Mount the Disk by UUID First, identify the UUID of the disk or partition you want to mount:
sudo blkid Example output:
root@orangepi3:~# sudo blkid /dev/mmcblk2p1: UUID="600d3790-5661-48e4-b40f-16356b83183d" BLOCK_SIZE="4096" TYPE="ext4" PARTUUID="b0d8b10d-01" /dev/sdb1: UUID="4fe6face-5253-486d-9c6c-c6658ea036ba" BLOCK_SIZE="4096" TYPE="ext4" PARTUUID="ccc2e70a-a1f9-49d6-aecf-36e13ba0a9d4" /dev/mmcblk0p1: UUID="0463846f-1aa0-42b9-bc76-92a8d366d6ed" BLOCK_SIZE="4096" TYPE="ext4" /dev/zram1: LABEL="log2ram" UUID="1514a966-ac2d-4275-9822-f95aee88050f" BLOCK_SIZE="4096" TYPE="ext4" /dev/sda1: UUID="6600936a-8024-462d-a92a-96ce2b73c2c7" BLOCK_SIZE="4096" TYPE="ext4" PARTUUID="62fce7c6-3580-a242-bc44-84255f16efb6" /dev/zram0: UUID="11e281ee-50ce-452d-8e35-bef71510b09d" TYPE="swap" Create the mount point if it does not already exist: