Learn how to run CLIProxyAPI and CPA Manager Plus together in a Docker Compose stack to expose AI subscription models through a standard OpenAI/Gemini/Claude API endpoint, with full observability, cost tracking, and account health monitoring.
This is a Docker container that uses Borg Backup (via the b3vis/borgmatic image) to mount a remote Borg repository into your local system as a filesystem, using FUSE.
Specifically, this container:
Connects to a remote Borg repository hosted on a Hetzner Storage Box (YOUR_BOX_ID.your-storagebox.de) over SSH (port 23). Uses borg mount to mount the entire contents of the backup archives (snapshots) in that repository into /mnt/restore inside the container, which is mapped to /mnt/hetzner on the host (thanks to rshared propagation).
Pi Agent is a terminal-based coding agent that is minimal and highly customizable, shipping with four core tools by default: read, write, edit, and bash. One of Pi’s strengths is that it lets you freely choose the LLM provider behind the agent — from major providers such as Anthropic, OpenAI, and Google, to self-hosted OpenAI-compatible APIs like Ollama, vLLM, LM Studio, or your own internal proxy.
This post walks you through installing Pi and configuring it to use a custom LLM (your own LLM/proxy) through a models.
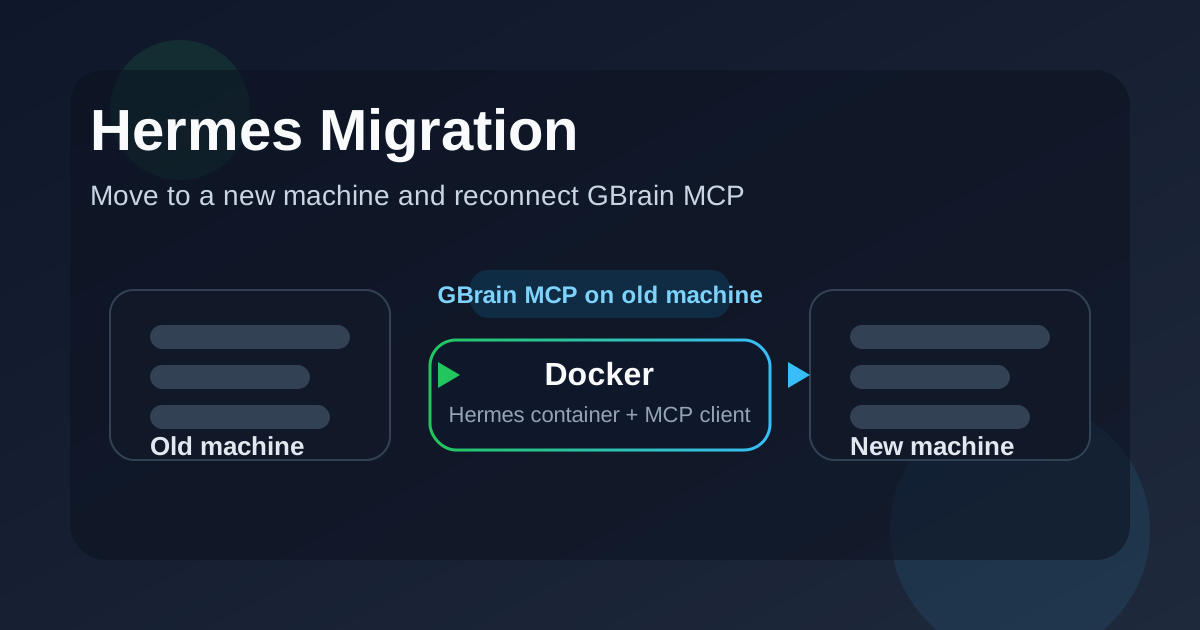
This article explains how to move Hermes to a new machine while keeping the deployment simple and stable. The two machines are assumed to already be reachable over the network, so the only connectivity checks we need are basic ping, SSH, and container-level verification.
The main goals are:
keep the Hermes data intact, copy the Docker project to the new machine, update the GBrain MCP endpoint, remove any Docker network settings that are no longer needed, verify that Hermes can still reach GBrain after the migration.
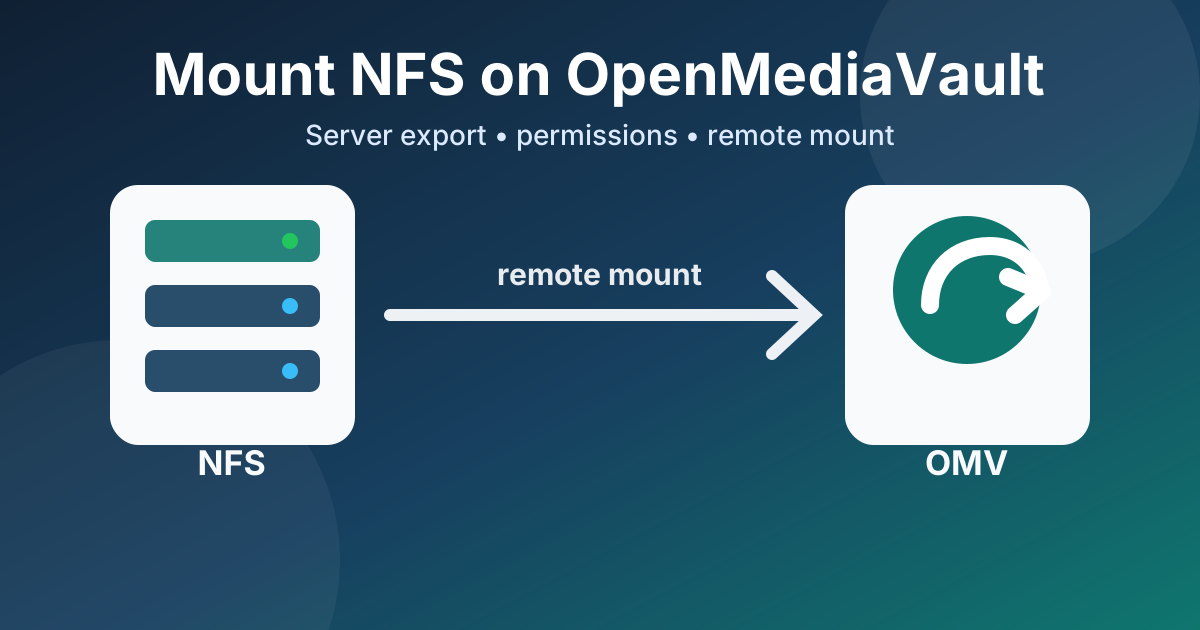
This guide shows how to prepare a disk on an NFS server, export it with nfs-kernel-server, troubleshoot common permission problems, and mount the remote NFS share from an OpenMediaVault client using the official Remote Mount plugin.
On the NFS Server Mount the Disk by UUID First, identify the UUID of the disk or partition you want to mount:
sudo blkid Example output:
root@orangepi3:~# sudo blkid /dev/mmcblk2p1: UUID="600d3790-5661-48e4-b40f-16356b83183d" BLOCK_SIZE="4096" TYPE="ext4" PARTUUID="b0d8b10d-01" /dev/sdb1: UUID="4fe6face-5253-486d-9c6c-c6658ea036ba" BLOCK_SIZE="4096" TYPE="ext4" PARTUUID="ccc2e70a-a1f9-49d6-aecf-36e13ba0a9d4" /dev/mmcblk0p1: UUID="0463846f-1aa0-42b9-bc76-92a8d366d6ed" BLOCK_SIZE="4096" TYPE="ext4" /dev/zram1: LABEL="log2ram" UUID="1514a966-ac2d-4275-9822-f95aee88050f" BLOCK_SIZE="4096" TYPE="ext4" /dev/sda1: UUID="6600936a-8024-462d-a92a-96ce2b73c2c7" BLOCK_SIZE="4096" TYPE="ext4" PARTUUID="62fce7c6-3580-a242-bc44-84255f16efb6" /dev/zram0: UUID="11e281ee-50ce-452d-8e35-bef71510b09d" TYPE="swap" Create the mount point if it does not already exist:
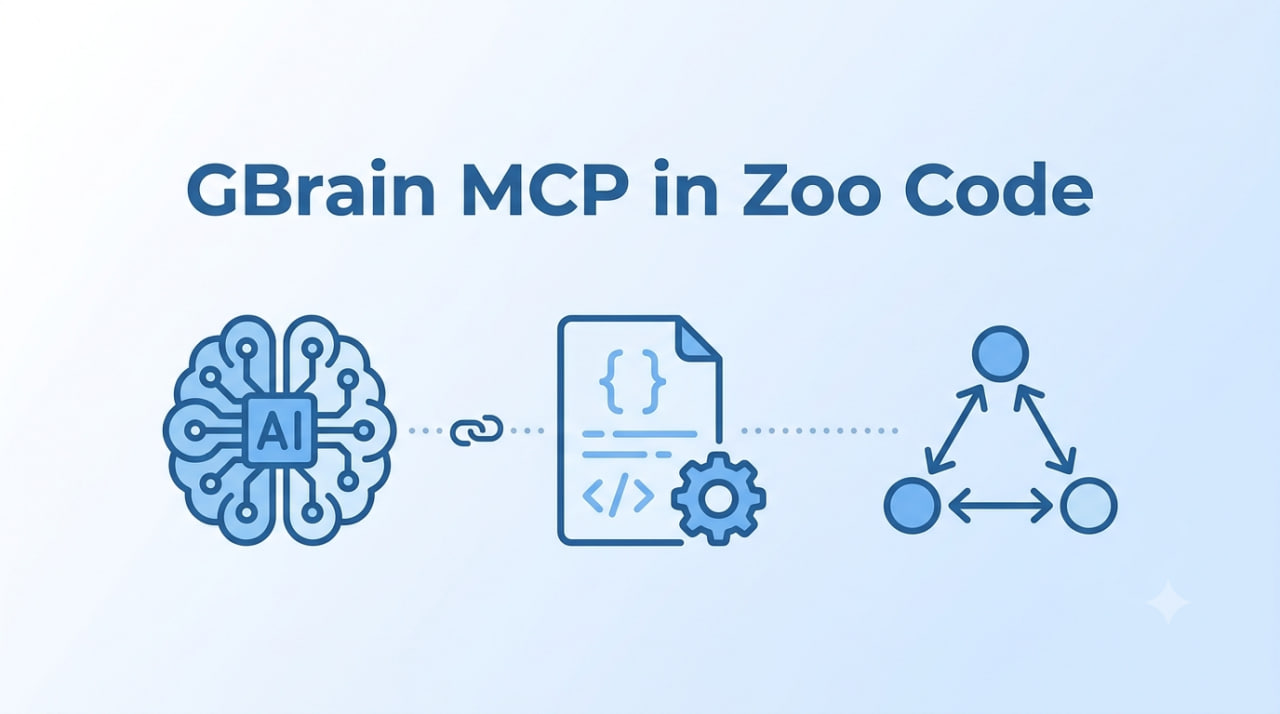
1. Installation Open Zoo Code → click ⚙️ → choose Edit Global MCP (for all projects) or Edit Project MCP (saved in .roo/mcp.json).
Paste the following config into the file:
{ "mcpServers": { "gbrain": { "type": "streamable-http", "url": "http://gbrain:7333/mcp", "headers": { "Authorization": "Bearer YOUR_TOKEN" } } } } Note: If the server uses SSE (legacy), change "type" to "sse". Try streamable-http first.
2. Connection check 2a. In the Zoo Code UI Click ⚙️ → view the list of MCP servers Green dot = connection OK Red dot = error → hover to see the message 2b.
Set Up an Agent to Push Directly to a GitHub Repo Goal This guide walks through a gentle, practical way to let an agent such as Hermes commit and push directly to a GitHub repository without placing your main personal GitHub SSH key on the server.
The target architecture is:
Local developer machine -> GitHub repository Hermes agent on server -> commit and push directly to master The server uses a dedicated GitHub machine user and a dedicated SSH key:
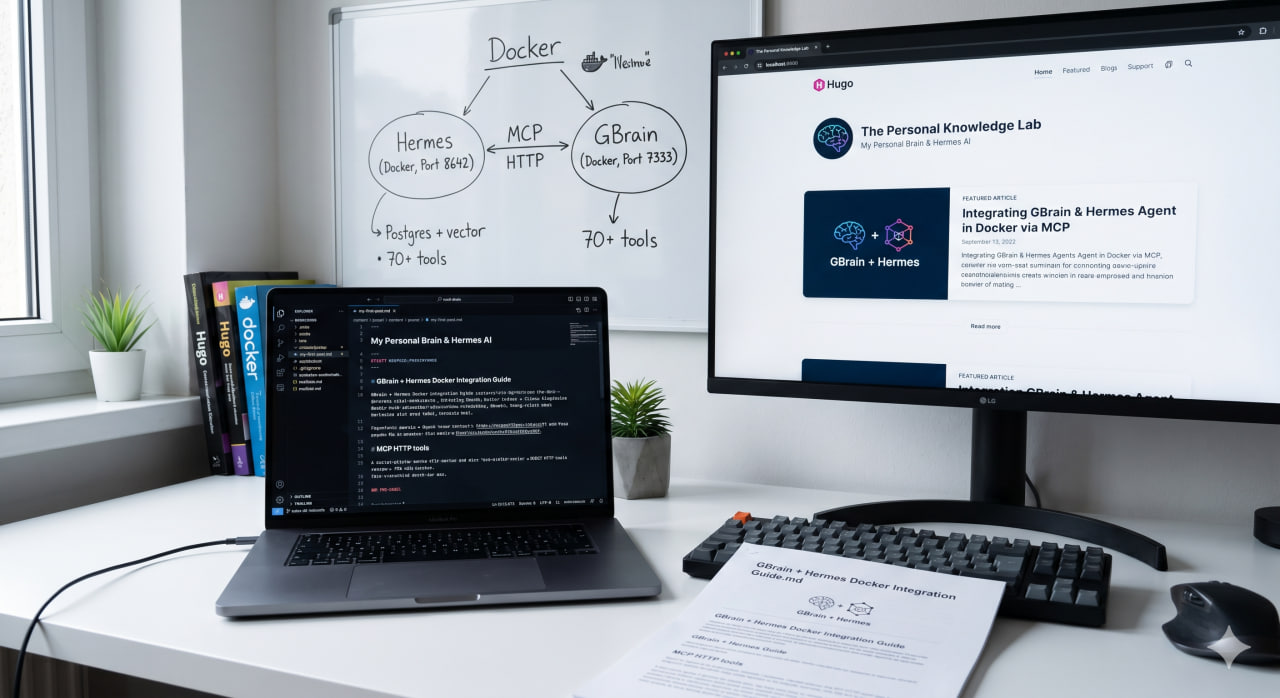
This guide shows how to run GBrain as a personal knowledge brain in Docker and connect it to Hermes AI Agent over MCP HTTP. Once connected, Hermes can access more than 70 knowledge, search, graph, and code-intelligence tools exposed by GBrain.
The latest updates are available in the current repository: https://github.com/magicstone1412/docker-gbrain. You can use this repository to set up GBrain with Docker quickly.
This article is the first workflow you can use to understand how the GBrain MCP setup works with Docker.
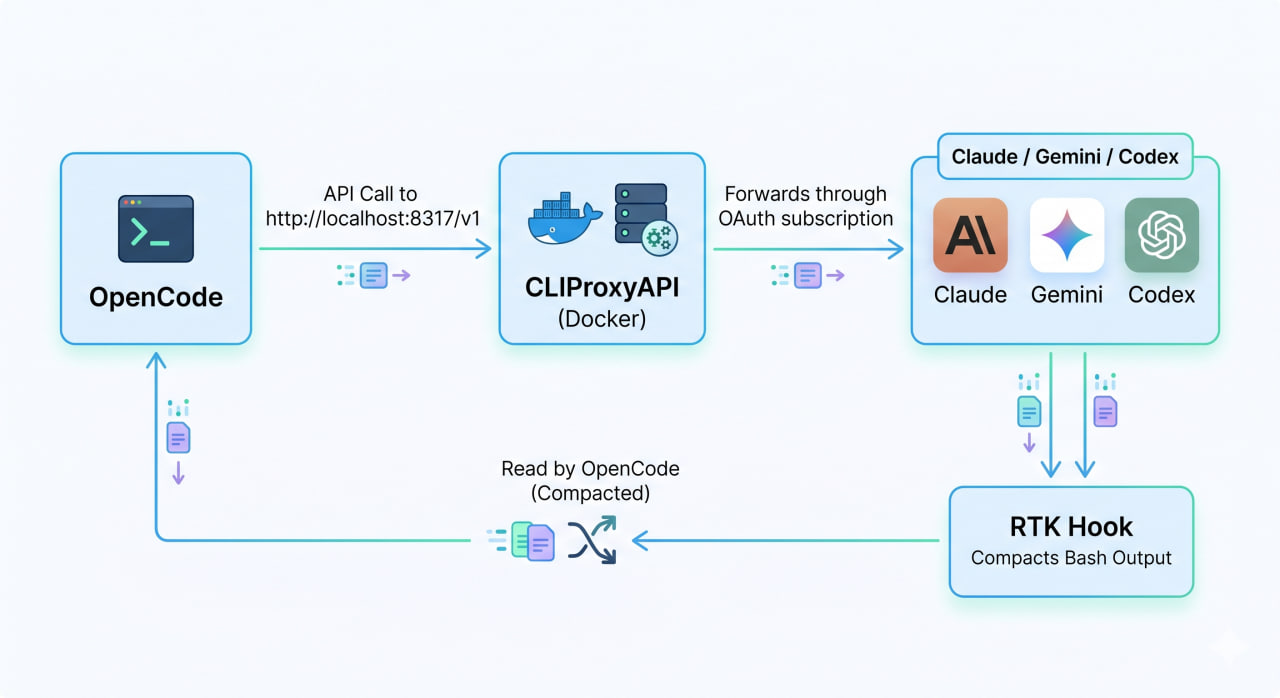
This guide shows how to connect OpenCode to a local CLIProxyAPI instance running in Docker and use RTK to compact bash output before OpenCode reads it.
Overview Flow OpenCode -> API call to http://localhost:8317/v1 CLIProxyAPI (Docker) -> forwards through OAuth subscription Claude / Gemini / Codex <- RTK hook compacts bash output before OpenCode reads it Step 1: Check That CLIProxyAPI Docker Is Running docker ps | grep cliproxy # Quick test curl http://localhost:8317/v1/models | jq # If you mapped a different port, replace 8317 accordingly.